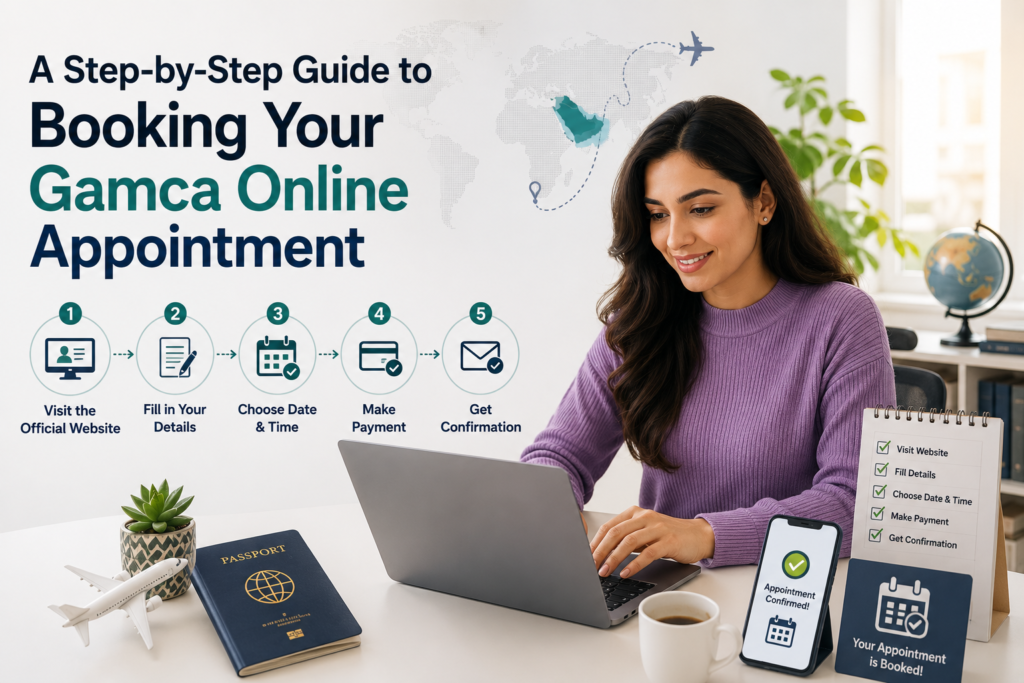
There was a time when booking a pre-employment medical exam meant standing in a long queue outside a clinic, filling out forms by hand, and hoping you picked the right center. That system has largely been replaced with digital booking, which is a relief for anyone juggling job offers, travel arrangements, and a dozen other things at once. Still, plenty of first-time applicants find the online process slightly confusing simply because nobody walks them through it clearly.
Here is that walkthrough, minus the technical jargon, covering exactly how a Gamca online appointment works from start to finish.
Why This Booking Even Exists
If you are heading to a Gulf country for work, whether that is Saudi Arabia, the UAE, Qatar, Kuwait, Oman, or Bahrain, your visa cannot be finalized until you pass a standardized medical screening. This exam checks for a specific set of communicable diseases, and it has to be conducted at a facility that is officially authorized to issue results recognized by Gulf immigration authorities. A regular hospital visit will not count, no matter how thorough it is.
Because so many applicants across India, Pakistan, Nepal, Bangladesh, and other countries go through this every single day, the entire scheduling system moved online years ago to handle the volume efficiently and cut down on the chaos of walk-in queues.
Getting Started With the Booking
The process starts with visiting the official platform at https://gamca-medical.co.in/, where you enter basic details such as your name, passport number, nationality, and the Gulf country you are applying to work in. From there, the system shows you a list of approved centers near your location, along with available time slots over the coming days or weeks.
Picking a center close to home is usually the smart move, but if your preferred location is fully booked for the week, it is often worth checking a nearby city rather than waiting around for a slot to open up, especially if your visa timeline is tight.
What Information You Will Need on Hand
Before starting the booking, keep your passport details, a recent passport-sized photo, and your visa or employment reference number ready. Some portals also ask for your sponsor’s details or the specific job category you are applying under, since certain roles come with slightly different testing requirements. Having this information ready before you sit down to book saves you from having to stop halfway through and go searching for a document.
Confirming and Preparing for the Slot
Once you select a time, you will typically receive a confirmation either by SMS or email, sometimes both. Hold onto this confirmation, since most centers will ask you to show it at the reception desk along with your original passport. Arriving without proof of your booking, even if you genuinely made one, can lead to unnecessary back-and-forth at the counter.
On the day of your appointment, try to arrive with a light stomach if blood tests are involved, and give yourself extra travel time in case of traffic, particularly in cities where these approved centers tend to get crowded during peak recruitment months.
What If You Need to Reschedule
Plans change, and the booking system generally allows you to modify or cancel your slot if something comes up. It is far better to reschedule properly through the portal than to simply not show up, since repeated no-shows can sometimes flag your profile and complicate future bookings. If you know in advance that a date will not work, take the two minutes required to adjust it rather than leaving it to chance.
After the Appointment Is Done
Results usually take between three and seven working days, after which they are uploaded directly into the system your employer or agent uses to track your visa file. You typically do not need to physically collect a printed report, since it is transmitted electronically to the relevant authorities, which is one of the more convenient aspects of the modern process compared to how things used to work.
Keep in mind that the resulting medical certificate is valid for a limited time, generally around three months. If your visa processing stretches beyond that window, you may find yourself needing to repeat the entire exam, so it helps to time your original booking with a realistic sense of how long your visa is likely to take.
A Few Practical Tips
Do not leave your booking until the last possible week before travel, since availability tightens considerably during busy hiring seasons. Double-check that the center listed in your confirmation is genuinely on the approved list, since a small number of fraudulent booking sites have popped up over the years mimicking the real portal. When in doubt, always complete your Gamca online appointment directly through the verified platform rather than a third-party link someone forwarded you on WhatsApp.
It is also worth saving your confirmation number somewhere easy to find, whether that is a screenshot on your phone or a printed copy tucked into the same folder as your passport, since staff at busy centers may ask for it more than once during your visit.
Wrapping Up
Booking this exam online has made what used to be a genuinely frustrating process far more manageable. It takes maybe ten minutes if you have your documents ready, and it removes most of the uncertainty that used to surround walk-in medical bookings. Treat it as one more item on your pre-departure checklist, get it done early, and you will likely find it is one of the smoother parts of an otherwise fairly involved visa journey.